


Related Posts


By Anisa Kauser • March 21, 2025 • 5 mins read


Everyone knows the feeling – your gel manicure is chipping, growing out, or you’re simply ready for a change, but the salon isn’t an option. According to a recent study by Nail Care Association, over 65% of gel polish users try to remove their polish at home at least once every few months. After trying almost every method available, this guide shares what actually works. Whether you’re in a hurry or just prefer doing your nails yourself, removing gel colour at home doesn’t have to damage your nails or make them weak. This guide will show you effective, salon-quality techniques using things you probably already have in your bathroom cabinet.
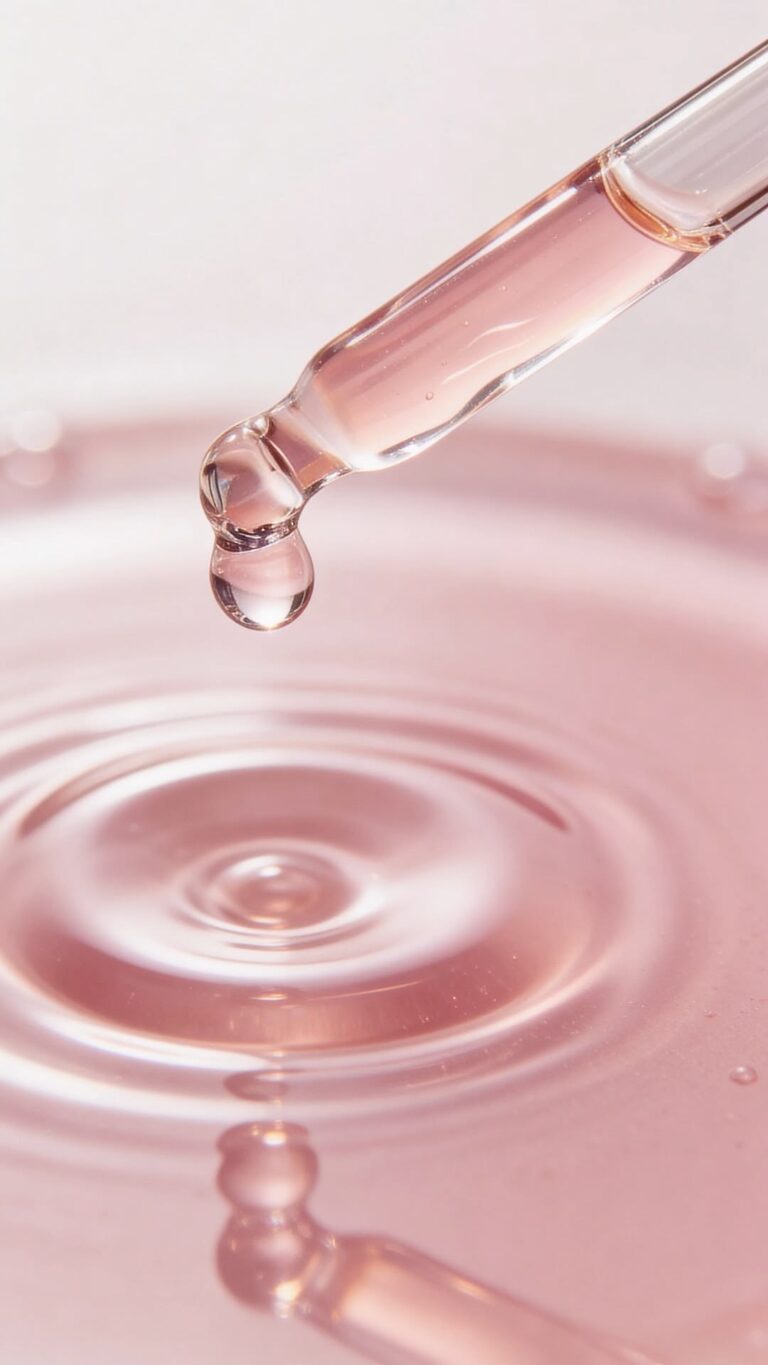
Removing gel polish at home requires specific tools. Gather 100% acetone or gel polish remover, cotton balls, and aluminium foil to wrap fingertips. A 180-240 grit nail file will help to break the polish seal, while an orange wood stick gently lifts loosened polish. A buffer smooths nail surfaces after removal. Don’t skip the cuticle oil and hand cream afterwards – these restore moisture that acetone removes. The process takes time but prevents the damage that occurs from peeling off gel polish. With these supplies, you’ll be able to safely remove gel polish without damaging their natural nails.
The foil wrap being one of the most effective techniques safely removes stubborn gel polish without damaging nails. Start by gently filing the shiny top coat with a 180-240 grit file, just enough to break the seal without reaching the nail bed. Soak cotton balls completely in acetone, then place one on each nail. Wrap each fingertip tightly with aluminium foil to keep the acetone from evaporating. Wait 10-15 minutes (longer for thicker polishes or certain brands). When the polish looks cracked and lifted, gently push it away with an orange wood stick—never force it. The polish should slide off easily if it’s ready and remember to be patient to prevent nail damage that can take time to heal.
The acetone soak method will be the next alternative to remove gel polish at home. Pour enough acetone into a small glass bowl to cover your fingertips. Remember that acetone is highly flammable, so keep away from heat sources and ensure good ventilation in the room. Soak fingertips for 10-15 minutes, occasionally wiggling nails in the solution. To make this more comfortable, place a warm towel around the bowl or use petroleum jelly on the surrounding skin to stop dryness. The gel polish is ready when it bubbles or lifts at the edges. After removal, rinse your hands thoroughly and apply your go-to hand cream and cuticle oil to restore hydration that acetone strips away.
If you have sensitive skin opt for a gentler, non-acetone alternative for removing gel polish. To remove gel polish at home using salt and warm water, start by soaking your nails in a bowl of warm water mixed with a generous amount of coarse salt for 10-15 minutes. The salt helps soften the gel while the warm water loosens the bond. After soaking, gently push back cuticles and use a wooden cuticle stick or orange stick to carefully lift and peel away the softened gel polish. Work slowly to avoid damaging your natural nails. This method is gentler than acetone but may require patience and multiple soaking sessions for complete removal.
Steam removal uses warm vapour instead of harsh acetone soaking to remove gel polish. It’s like giving your nails a spa treatment. Store-bought steamers have finger holes for your nails but you can try a DIY version using hot water with a small bowl of acetone inside (never heat acetone directly) and a towel tent to trap steam. Though it takes 15-20 minutes and still requires filing the topcoat first, this method is much gentler on your skin. Your cuticles won’t dry out as badly, making it perfect if you have sensitive skin or change your polish frequently.
After removing gel polish, make sure to give your nails some care for the best recovery. Apply cuticle oil and a nail-strengthening treatment containing keratin or biotin to repair damage. Hydration is key—massage jojoba or coconut oil into nails nightly and drink plenty of water. Damaged nails need at least a one-week break before new polish application. During this time, apply a nail hardener every other day, but avoid using it longer than recommended as excessive hardening causes brittleness. For severely damaged nails, a protective clear polish with vitamins provides both strengthening and protection.
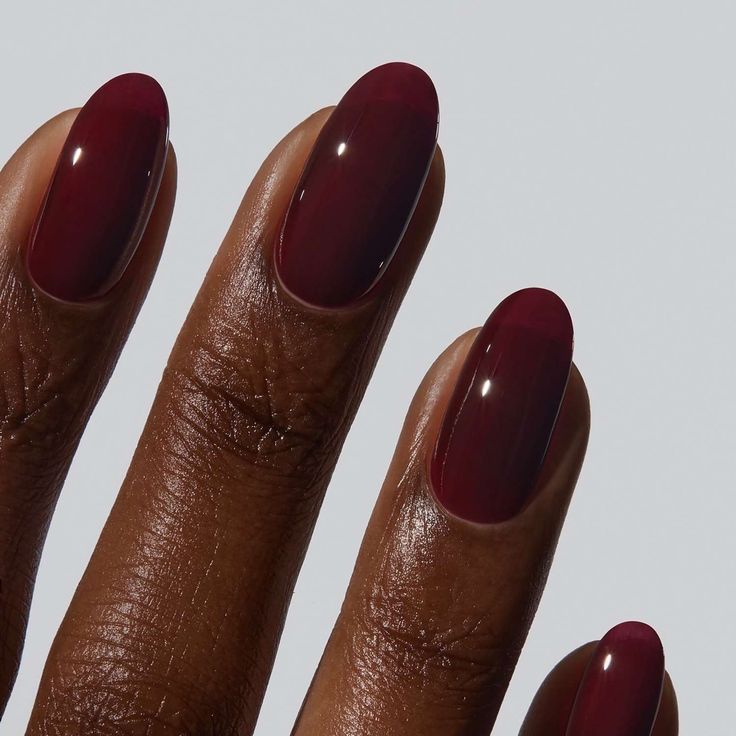
Removing gel polish at home doesn’t have to be intimidating or damaging to your natural nails. By following these professional-grade techniques and investing in the right tools, you can achieve salon-quality results from the comfort of your own bathroom. Remember, the key is patience—rushing the process is the quickest way to damaged nails. Give your nails some extra TLC after removal with nourishing oils and take a short break between gel applications if possible. With these methods in your beauty arsenal, you’ll never have to worry about being stuck with chipped gel polish again.
Publishing industries for previewing layouts and visual mockups.