


Related Posts


By Siena Brown • March 3, 2026 • 8 mins read


Foundation can be the most technically demanding product in a makeup bag. Not because it’s complicated, but because every decision formula, tool, application order, and blending method either works with your skin or against it. Understanding which decisions to make, and why, is what separates a skin-like finish from obvious coverage.
This guide covers the foundation application techniques that create a genuinely skin-like finish, the kind that looks like great skin, not coverage. Each method is chosen for a specific reason, and each one can be adapted for your skin type, your formula, and the finish you’re working toward.
| In this guide: |
|---|
| 1. Why Foundation Application Is a Technique, Not Just a Step |
| 2. Choosing the Right Tool |
| 3. How Much Product to Use |
| 4. The Blending Techniques That Separate Good Application from Great |
| 5. Adapting Application Technique by Skin Type |
| 6. Setting Foundation — When, How, and Whether You Need To |
When it comes to foundations, the formula alone can’t do everything, and how you apply it determines whether the result looks natural or sits visibly on your skin. The same foundation can look completely different depending on what tool you use, how much product you apply, and the order you do your makeup.
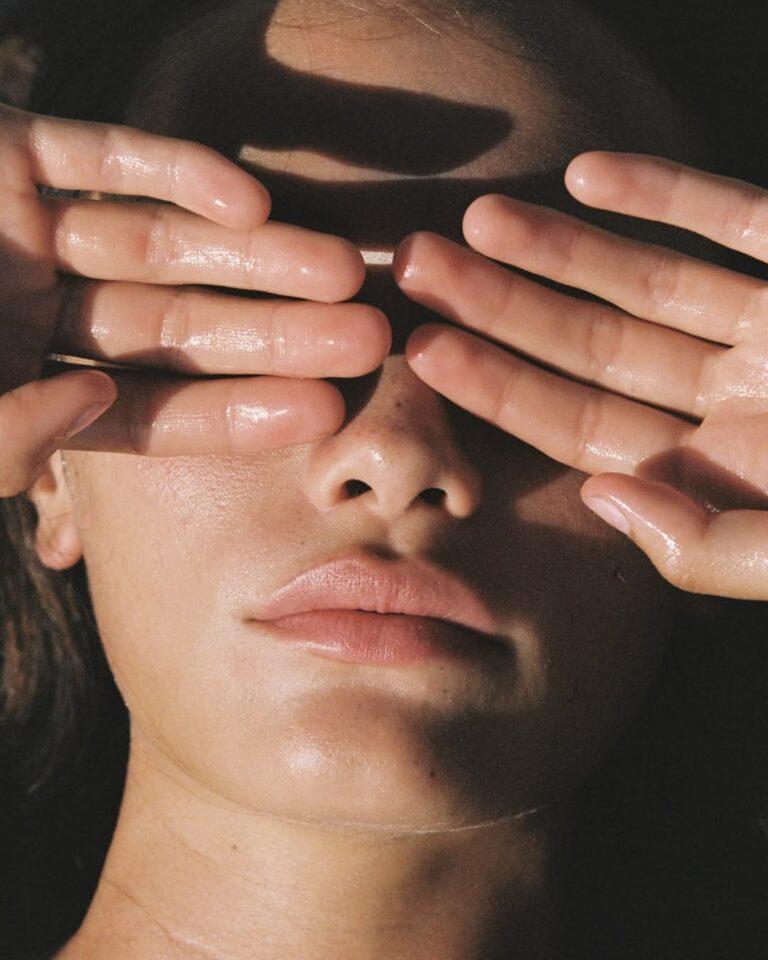
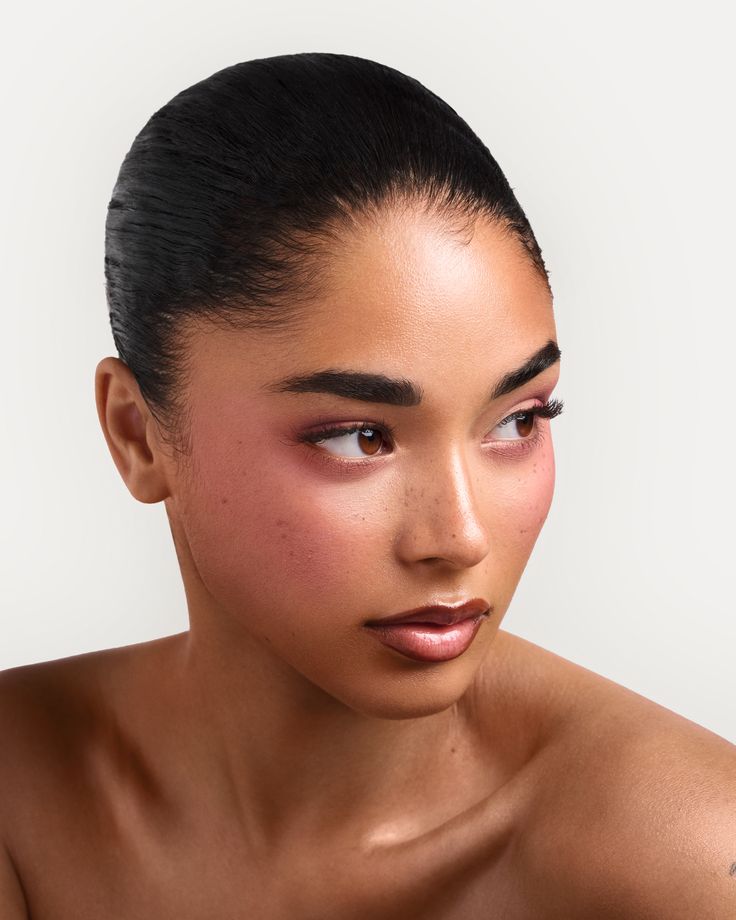
For your foundation to resemble a “skin-like finish,” it needs to blend seamlessly, allowing light to interact with the natural texture and movement of the skin. Even if your shade match is correct, too much coverage can sit on the surface, looking flat and unnaturally uniform.
The good news is that the right technique is easy to learn and does not require expert skills. It’s a set of specific decisions made in a specific order: tool choice, product amount, application direction, and blending method. If you get those right consistently, the results become consistent too.
One thing worth noting before we get into it: this article is about application technique. Skin prep is its own step and covered in full here [The Morning Skincare Routine for Flawless All-Day Makeup]. Both are important, and the technique works best when the skin underneath has been properly prepped.
The right tool is completely dependent on the finish you’re trying to achieve, as they genuinely produce different results.
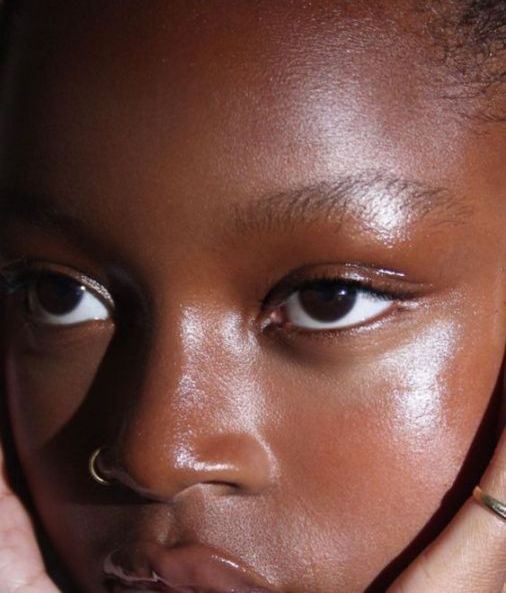
A damp beauty sponge is the closest thing to a universal recommendation for a skin-like finish. The keyword is damp; a dry sponge absorbs product instead of delivering it, which leads to patchy, uneven coverage. Dampening it first means the sponge is already saturated, so the product goes onto the skin rather than into it. The stippling motion it encourages also presses product in rather than dragging it across, which is what creates that seamless result.
Brushes give more control and more coverage. A flat foundation brush applied with short pressing strokes builds coverage efficiently and suits fuller-coverage formulas well. A buffing brush used in circular motions blends more softly and works well for lighter finishes. The key with brushes is a pressing or stippling motion; a dragging or painting stroke is likely to create streaks.
Fingers are underrated, and genuinely what a lot of makeup artists reach for with skin-tint and serum foundation formulas. The warmth of your hands melts product into skin in a way no tool can replicate. Just make sure your hands are clean, and check that the formula is light enough to use for this method.
Applying more product doesn’t mean more coverage. A heavy finish will likely enhance your skin’s texture and fine lines by settling into them, and cause your foundation to break down more quickly throughout the day.
The saying ‘less is more’ works perfectly in this instance. For a liquid foundation, that’s roughly a pea-sized amount to begin, maybe a little more for a sheer formula or fuller coverage build. The approach that works is applying a small amount, blending it out fully, then assessing. Add where needed. Starting heavy and trying to thin it out rarely produces a clean result.
A technique worth adopting is underpainting — applying concealer and bronzer directly to the skin before foundation. Colour-correcting and concealing first means foundation only needs to cover what’s left, which is usually far less than the full face. When foundation goes on top, it acts as a blending layer, bringing everything together into a seamless, skin-like finish rather than sitting as a separate, heavy coat.
The centre-heavy, sheer-at-the-edges approach works well alongside this. Full coverage through the centre of the face, sheered almost to nothing toward the hairline, jaw, and temples. That gradient is what prevents the foundation mask effect — the visible edge that gives away where the product ends.
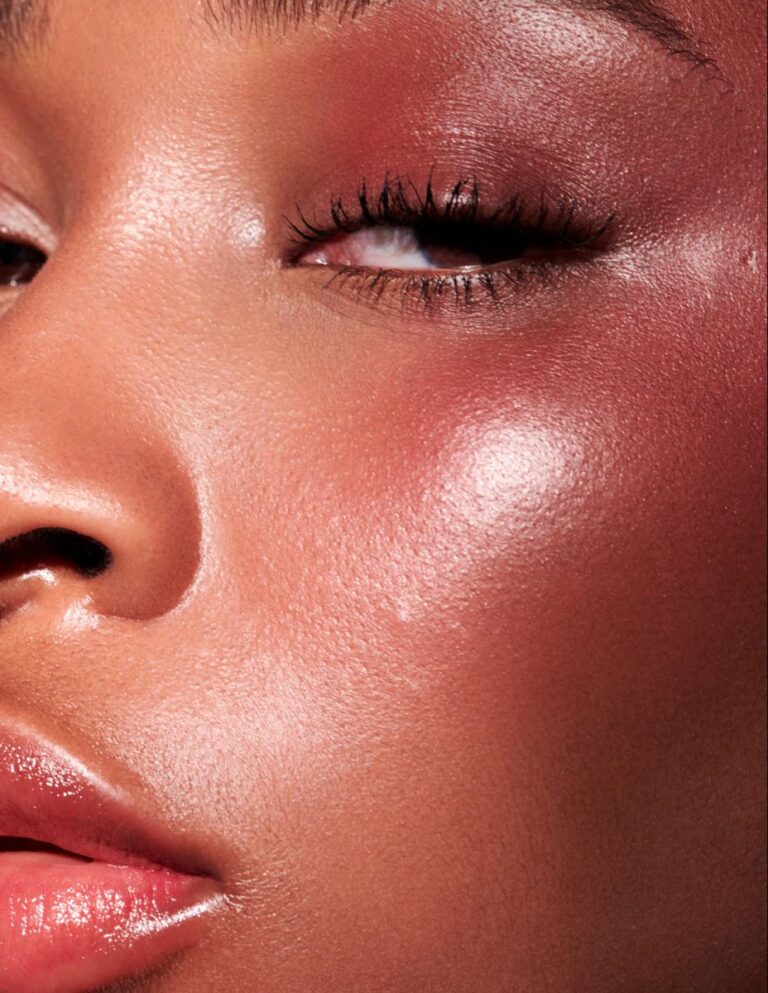
Two motions do different jobs in foundation blending. Stippling is a pressing, bouncing motion that spreads the product exactly where you want it without moving it around. Buffing with a circular or sweeping motion blends and moves the product across the skin surface. Both have a role.
The sequence that works: stipple first to deposit product, then buff lightly to blend the edges. This is especially useful around the nose, under the eyes, and along the jaw areas, where you want coverage but need it completely seamless. Stippling alone tends to leave slightly defined edges. Buffing alone moves the product away from where it was placed. Together, they do exactly what’s needed.
The spots most commonly under-blended are along the hairline, around the ears, the sides of the nose, and just below the jawline. A final check in natural light is worth it; those edges show up in photographs even when everything else looks right.
Foundation technique isn’t one-size-fits-all, and adjusting your approach based on your skin type is one of the best ways to improve how your base holds and finishes.
For oily skin, lightweight layers are key. One thin, well-blended layer typically wears better than one heavy layer in terms of finish and longevity. Using a pressing motion rather than sweeping helps the product stay rather than slide. A light dusting of translucent powder through the T-zone before foundation can also extend your finished look, particularly in warmer months.
Dry skin needs a different approach entirely. Cream or serum foundation formulas respond better than matte liquids, and the application should avoid anything that drags or moves skin around. Pressing the product in gently with a damp sponge or fingertips gives the most even result. Avoid powder in dry areas as it settles into any texture and makes it more visible, not less.
Combination skin benefits from a zoning approach treat the T-zone like oily skin and the cheeks like dry skin, adjusting pressure and tool accordingly. For textured skin, stippling is the go-to: the pressing motion minimises the appearance of pores rather than filling them with product. And for mature skin, the consistent rule is lighter layers, less powder, and blending that goes with the skin rather than against it.
For skin-type specific prep advice: [Skincare for Oily Skin That Wears Foundation Daily]
Setting foundation is a necessary step for most skin types as it locks in the application, controls shine, and extends wear through the day. What determines the finish is less about whether you set, and more about where, how much, and what you use to do it.
Whether to set at all comes down to skin type and formula. Oily skin and long-wear foundations generally benefit from some powder. Dry skin and skin-finish formulas often don’t or only need it in specific areas. The goal is to lock in the application where it’s genuinely needed, not to powder the entire face out of habit.
Where you set matters as much as how. The T-zone, under the eyes, and around the nose are the areas that benefit most; these are where movement and oil break the foundation down first. The cheeks, forehead edges, and jawline can usually be left alone, particularly for a natural or dewy finish.
Pressing powder in with a damp sponge or flat puff gives a more skin-like result than dusting with a fluffy brush. A setting spray applied after powder brings back any slip the powder removed and knits all the layers together. One or two spritzes from about 30cm is enough. And if your skin is properly prepped and the formula is right, you may find you don’t need to set at all.
Foundation application is one of those skills that looks simple from the outside and reveals its depth when you actually try to get it right. The difference between a finish that looks like skin and one that looks like makeup is almost always in the technique — the tool choice, the application order, the blending method, and the decision of how much product to actually use.
What changes outcomes most isn’t the formula in the bottle. It’s understanding how to work with what your skin is doing and applying product in a way that enhances rather than covers. That’s the professional approach, and it’s repeatable with practice.
Before any of this works at its best, the skin underneath needs to be properly prepped. If the foundation is still breaking down, shifting, or looking uneven despite a solid technique, the answer is usually one step earlier: [The Morning Skincare Routine for Flawless All-Day Makeup].
Publishing industries for previewing layouts and visual mockups.