


Related Posts


By Sophie Joaman • March 17, 2023 • 8 mins read


Contouring has become a mainstream technique in many a makeup routine over the last couple of decades and is favoured far and wide by celebrities, makeup artists and influencers. But did you know that contouring actually goes way back? In the 1980s and 90s, Drag Queens used contouring to create the illusion of chiselled bone structure. While Hollywood was using contouring techniques back in the 1920s to add in dimension within the face when on screen.
Before that even, the Elizabethans were using it for dramatic cheekbones and jawline. So contouring is certainly nothing new. It is however a staple makeup technique and one worth learning about, even if you are a beginner. Why you might ask? Well, contouring not only enhances your natural features, but can also really bring together a makeup look with that added structure to the face shape.
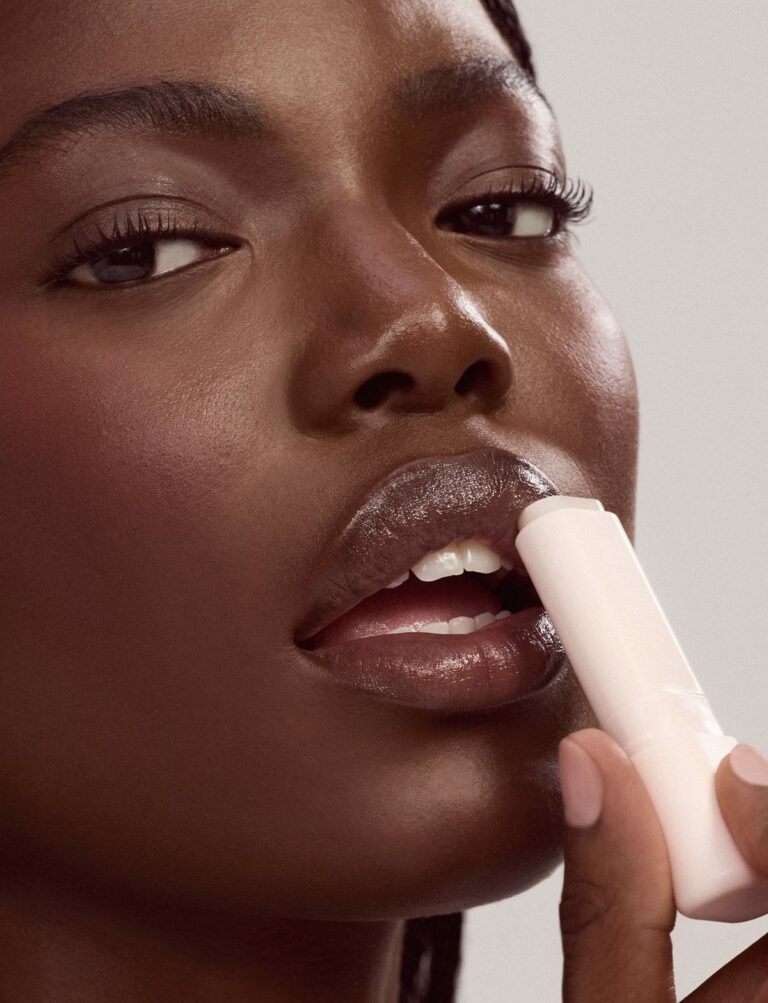
The great news is, it is super easy to do and will instantly become a part of your routine with just a little know-how. If you’re new to makeup and want to learn how to contour, these beginner makeup tips will help you build your skills with confidence. If you’re starting out on your makeup journey, then read on for our guide to the best contour for beginners and how to get the best contour for your unique complexion. Whether you’re looking to highlight those cheekbones or add a more defined jawline, contouring is a must-have skill for any makeup lover.
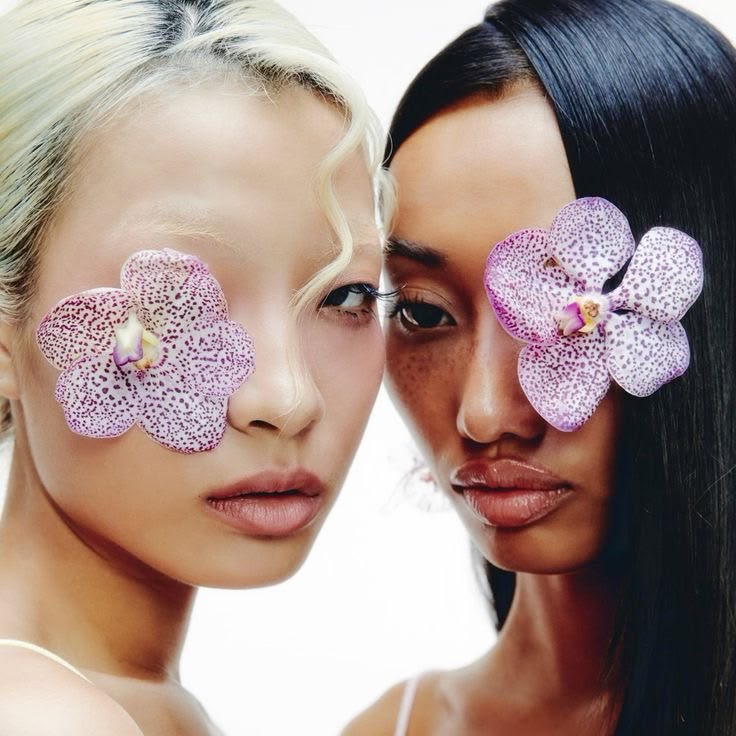
Contouring is the process of using dark shades of makeup to add in shadow to the face and highlight shades to accentuate those areas of the face that catch the light. The result of this is added depth to the face which gives the illusion of structure, symmetry and enhances features of the face, such as the jawline and cheekbone. Dark shades are usually applied to recesses of the face such as the hollows of the cheeks, down the side of the nose and along the jawline.
Whereas highlight shades are applied onto the high points of the cheekbones, the tip of the nose and the cupids bow for example. I.e. anywhere light hits. Overall, you are left with a defined face shape that brings out your naturally beautiful features. Contouring can also be done with a variety of different makeup products in various textures to achieve that sculpted finish. This includes cream formulas as well as powders, depending on your personal preference and complexion.
With the right technique and products, you can really chisel your features to perfection. If you want to learn how to contour, finding the best contour for your unique face shape will help you achieve the most flattering results.
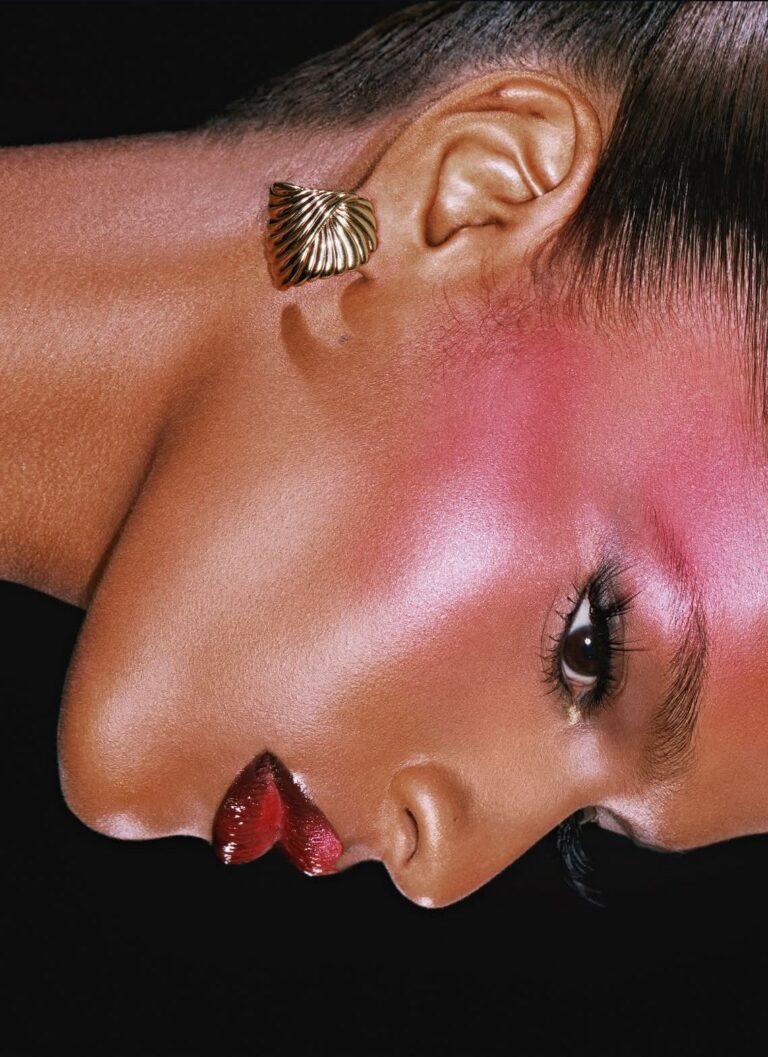
There is some cross over between contouring and bronzing, which can understandably cause confusion. Particularly if you’ve never contoured before. This is because bronzers are often used for the dark shadows within contouring. The difference between contouring and bronzing however, is that bronzing is used to create the illusion of a ‘sun-kissed’ appearance within the skin. It is usually applied more freehandedly to areas in which the sun hits to mimic warmth and the look of a sun-tanned complexion.
Contouring on the other hand, uses dark shades to add depth to the bone structure, such as the jawline, and can help chisel and define features like the cheekbone.
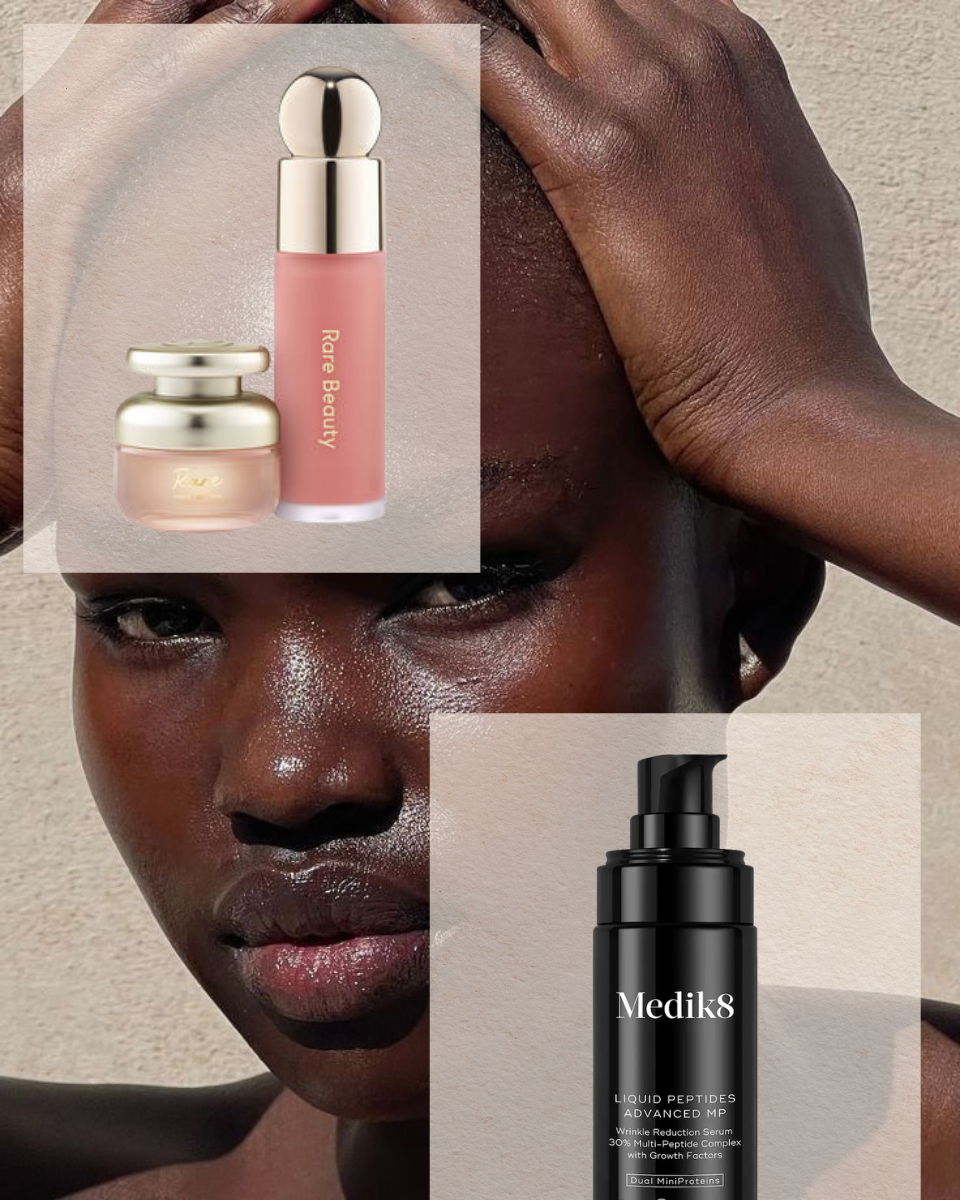
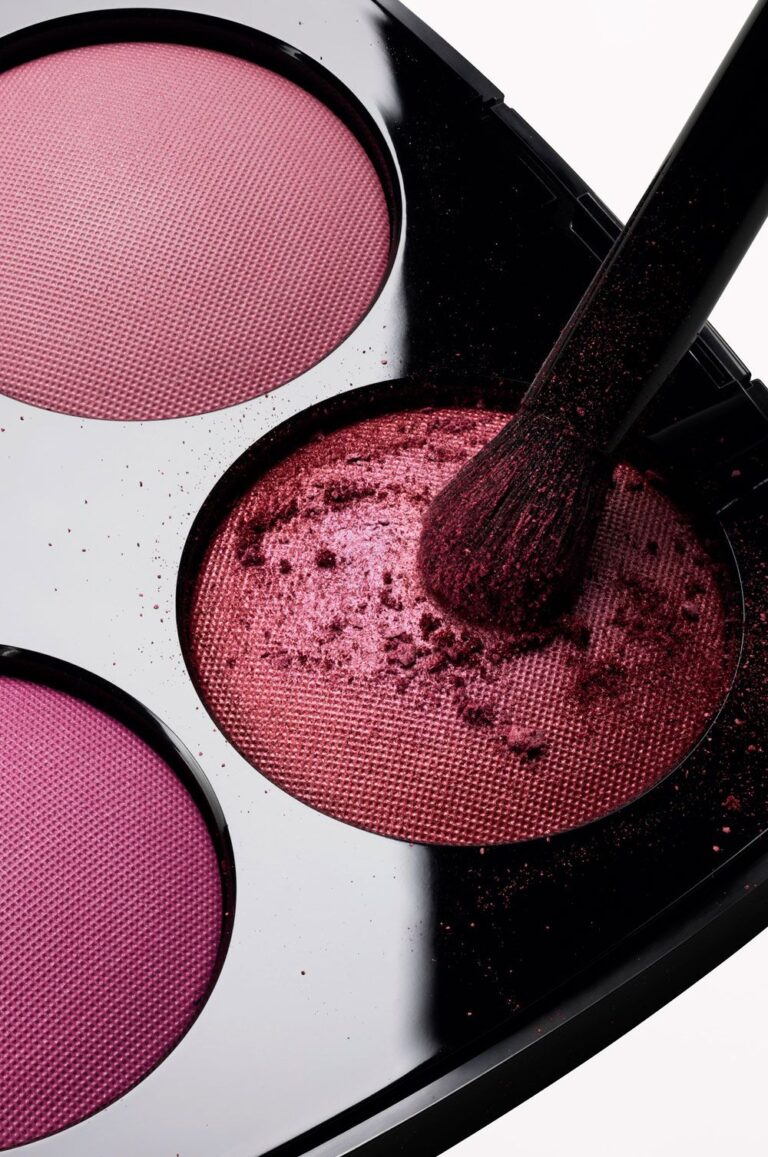
If you are starting out with contouring for the first time, then first, make sure that you have the right products and tools to get the technique right. Luckily, it doesn’t require too much to get perfect contour. As a beginner, if you are looking for optimum ease, consider choosing a contour palette with all-in-one shadows and highlights to make the process even more straight-forward and cost-effective. Contour palettes also come in cream and powder formulas, so really consider what it is you need based on your skin type.
If your skin is dry or dehydrated, a cream-based product may work better to stop your contour from looking cakey. On the other hand, if you’ve got oily skin, powder products can help to control shine and keep your makeup in place. As well as palettes, you can also buy contouring sticks and solo bronzers/highlighters. You really don’t need to invest tonnes of money into contouring products to get the best contour results. Be sure however, to have a contour brush and blending brush/sponge and you’re good to go.
The rest of the process comes down to technique. For absolute beginners, we’ve got it down to three simple steps that are quick to do and give you the most flawless results. With the right technique, you can define your jawline, cheekbone, and face shape, and learn how to contour like a pro.
The most important thing to ensure when you are contouring is that you are contouring onto a base that has been prepped and primed. This means skin should be cleansed, moisturised and prepped with a good primer. You can also at this point, apply your foundation to your skin prior to contouring, however some people do contour underneath the foundation. For the sake of starting out though, sort out your base and foundation of your makeup first, before applying contour. This will give you a smoother base to work with and will allow the product to glide on to the skin.
Once you’ve got your foundation done and set into place, you can start by going in with your dark shades. Map out where you want these shadows to sit and draw it into the skin with precise straight lines. Start by drawing in your shadow into the hollows of the cheeks (suck your cheeks in. This should help you to find the hollows if you’re not sure). You can then do the same along the sides of the nose, on the forehead and along the jawline.
It is a good idea at this point to go in lightly and add in extra shadow afterwards if you want even more definition and depth. Starting lightly helps you to map out the destination of your shadow, without going in too heavily handed to begin with. Remember, you can always build upon your contouring, so on your face shape, add more definition to the cheekbone area or jawline to create a more sculpted look. With practice, you’ll learn how to contour to achieve the best contour that highlights your natural complexion.
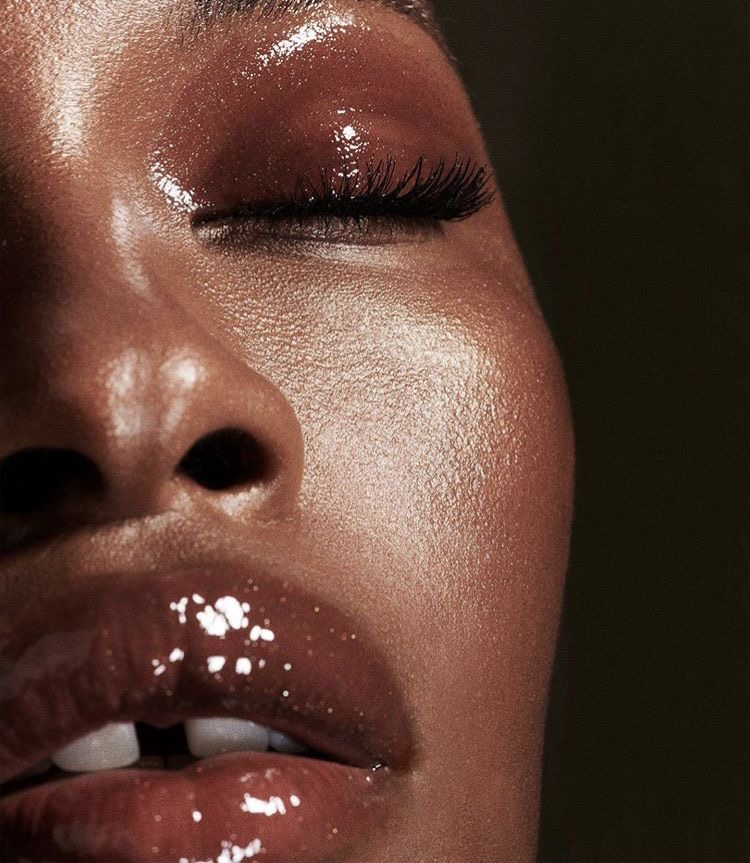
Now you’ve got your shadow on your face, it is important to ensure that it is blended in well. This is the most crucial step, as unblended shadow can look harsh on the skin and give you over-exaggerated structure. The key is to blend the shadow in with a good blending brush or sponge for a natural finish. Be sure however to make sure that you are not dragging the product upwards or downwards, as this can undo everything you’ve just done and will not give you that precise definition of your jawline or cheekbone.
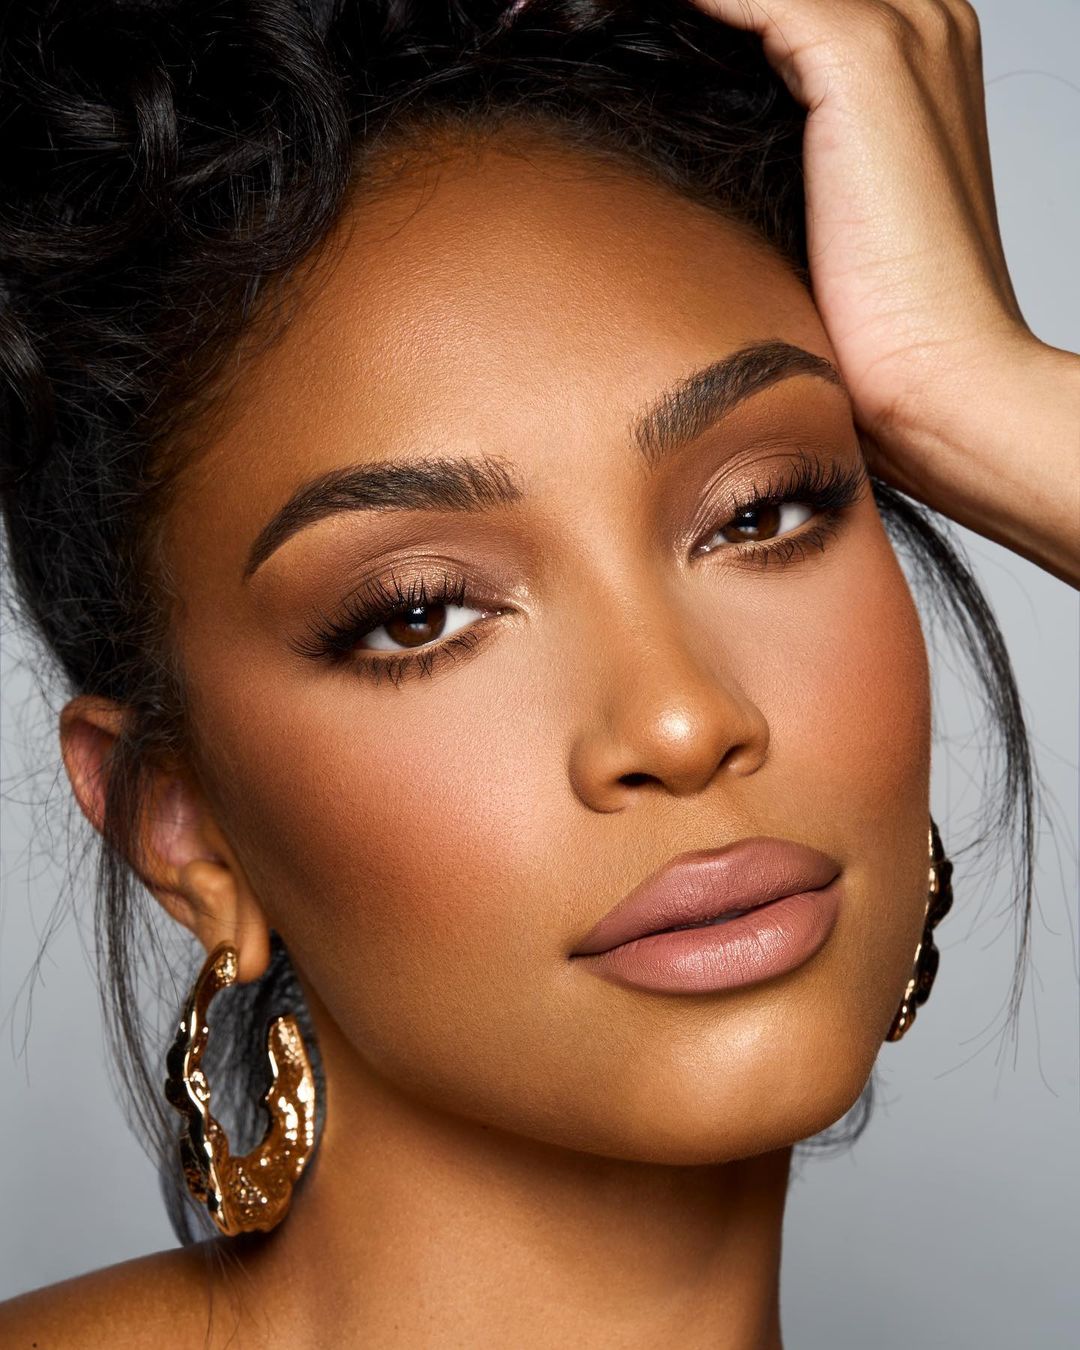
Instead, you want to blend the harsh lines in as much as possible to create a softer, more natural vibe. Once you have blended in all of the shadow to your face shape, you will undoubtedly begin to notice a much more defined structure to your face. The contour will help chisel your features, giving you a more sculpted look. It will also help you with the next step, the highlighter
At this point, you can go in with your highlighter shade and apply it to any areas where light usually hits your face. This will be the tops of the cheeks, the chin, the cupids bow, the centre of your forehead and down to the tip of your nose. By doing this you will be able to notice that your contour looks a lot more carved out. And your face, much more defined. Like Step 2, it is vital at this point to blend in your highlighter shade. Just like you did with the shadow.
Again, make sure that you are not dragging the highlight downwards or upwards, as this will likely interfere with your shadow. Blend it in to your skin for a softer look and you will immediately notice that your skin looks sculpted, especially around the jawline and cheekbone areas. It’s really that simple. Contouring is an amazing technique to learn how to contour, especially if you are just starting out in makeup. The technique creates the illusion of extra definition within the face and creates structure, enhancing your natural beauty in the process.
It also doesn’t matter what face shape you have. The contouring technique is exactly the same, so once you’ve learned how to contour, you can work on adding in contour with your face shape in mind. With practice, you’ll be able to chisel those features to perfection. Whatever your experience with contour, our guide will help you get to grips with it once and for all, helping you achieve the best contour for your unique features and complexion.