


Related Posts


By Aliyah Ray • April 14, 2025 • 3 mins read


Products featured on Ntrl Look are chosen independently by our editorial team. When you purchase through our affiliate links, we may receive a commission at no extra cost to you.
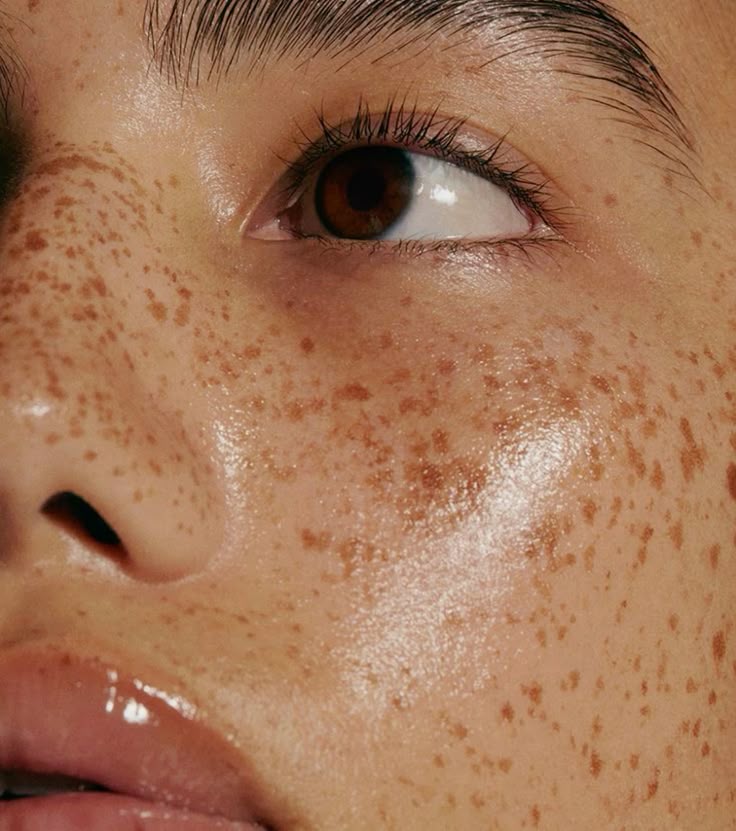
Ever wondered why your tinted moisturiser doesn’t look as flawless as when makeup artists apply it? The secret is all in the technique. According to a 2024 beauty industry report, over 65% of makeup users now prefer tinted moisturisers over traditional foundations for everyday wear—and for good reason. They’re quick, natural-looking, and give you that “your skin but better” finish.
In this guide, I’ll share the professional techniques that make all the difference between amateur and expert application.techniques to elevate your tinted moisturiser game and achieve that coveted natural, dewy finish that lasts all day.
[Your video embed would go here showing all application techniques]
Fingers – Best for beginners. Your natural warmth helps product melt into skin for the most natural finish.
Damp Beauty Sponge – Best for even, streak-free coverage. The bouncing motion prevents texture issues.
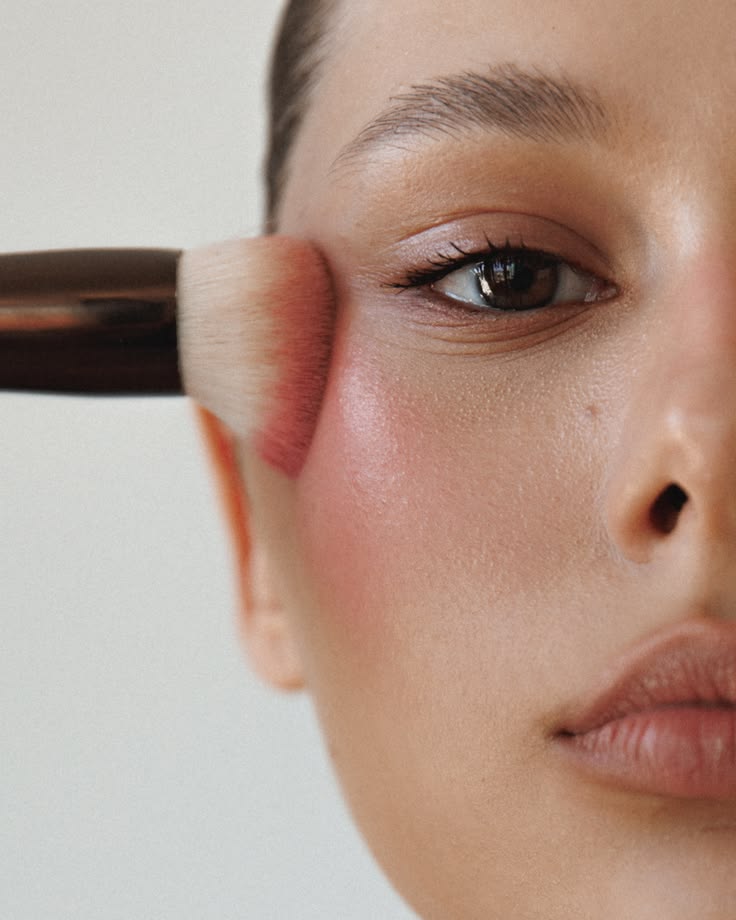
Brush – Best for oily skin. Gives slightly more coverage without adding oils from your hands.
Start with clean, moisturised skin. If you have oily skin, use a mattifying primer on your T-zone. For dry skin, apply a hydrating serum first and let it absorb for 1-2 minutes.
Recommended Primers:
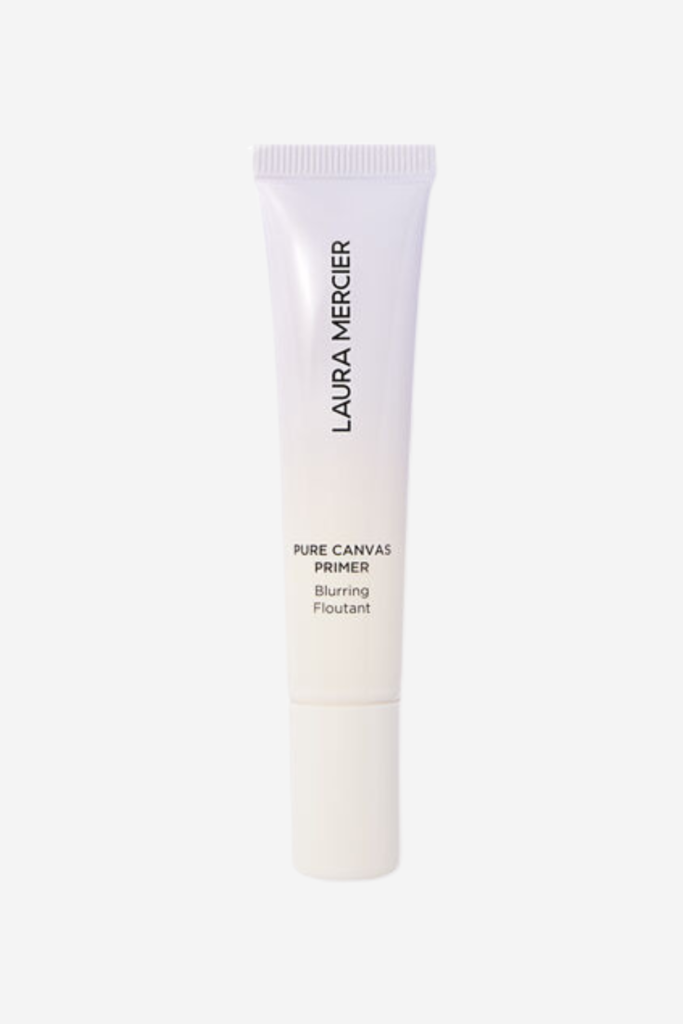
Laura Mercier Pure Canvas Primer Blurring

REFY Face Primer Glow And
Sculpt
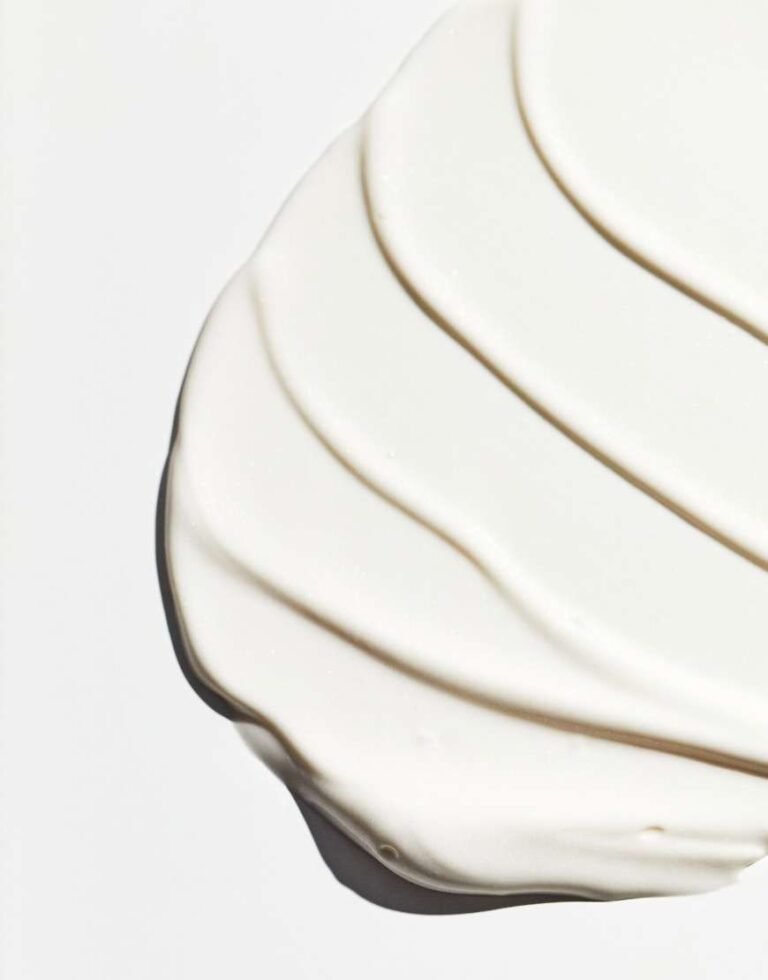
Dispense a pea-sized amount and dot it on your forehead, cheeks, nose, and chin. Using your preferred method (fingers, sponge, or brush), blend outward from the center of your face. Work quickly while the product is still fresh.
Key technique: Blend down your jawline and onto your neck to avoid a visible line. Use whatever’s left on your applicator—you don’t want full coverage there.
Recommended Tinted Moisturisers:
Laura Mercier Pure Canvas Primer Blurring
Glossier Perfecting Skin Tint
Add a second thin layer only on areas that need more coverage—typically around the nose, on redness, or over dark circles. Don’t add more product all over your face.
For blemishes or under-eye circles, use a proper concealer instead of layering more tinted moisturiser.
Using too much product – Start with half what you think you need. You can always add more.
Wrong shade – Test on your jawline in natural light, not your hand or wrist.
Not blending at the edges – Your hairline, jawline, and around your ears need thorough blending.
Skipping skin prep – Tinted moisturiser on flaky or excessively oily skin looks terrible. The 2 minutes of prep is worth it.
Beauty Sponges:
Beauty Blender The Original Beauty Blender
Real Techniques Miracle Complexion Sponge
Brushes:
Real Techniques Expert Face Brush
Sigma F80 Flat Kabuki
Setting Products:
Urban Decay All Nighter Setting Spray
NYX Dewy Finish Setting Spray
✓ Skin is clean and prepped
✓ Primer applied if needed
✓ Start with a small amount
✓ Blend from center outward
✓ Blend down jawline and neck
✓ Build coverage only where needed
✓ Set strategically (T-zone only if oily)
The key to professional-looking tinted moisturiser is simple: less product, better blending, and proper skin prep. Master these three things and you’ll get that coveted “your skin but better” finish every time.
Publishing industries for previewing layouts and visual mockups.