

Related Posts



By Siena Brown • July 6, 2026 • 5 mins read


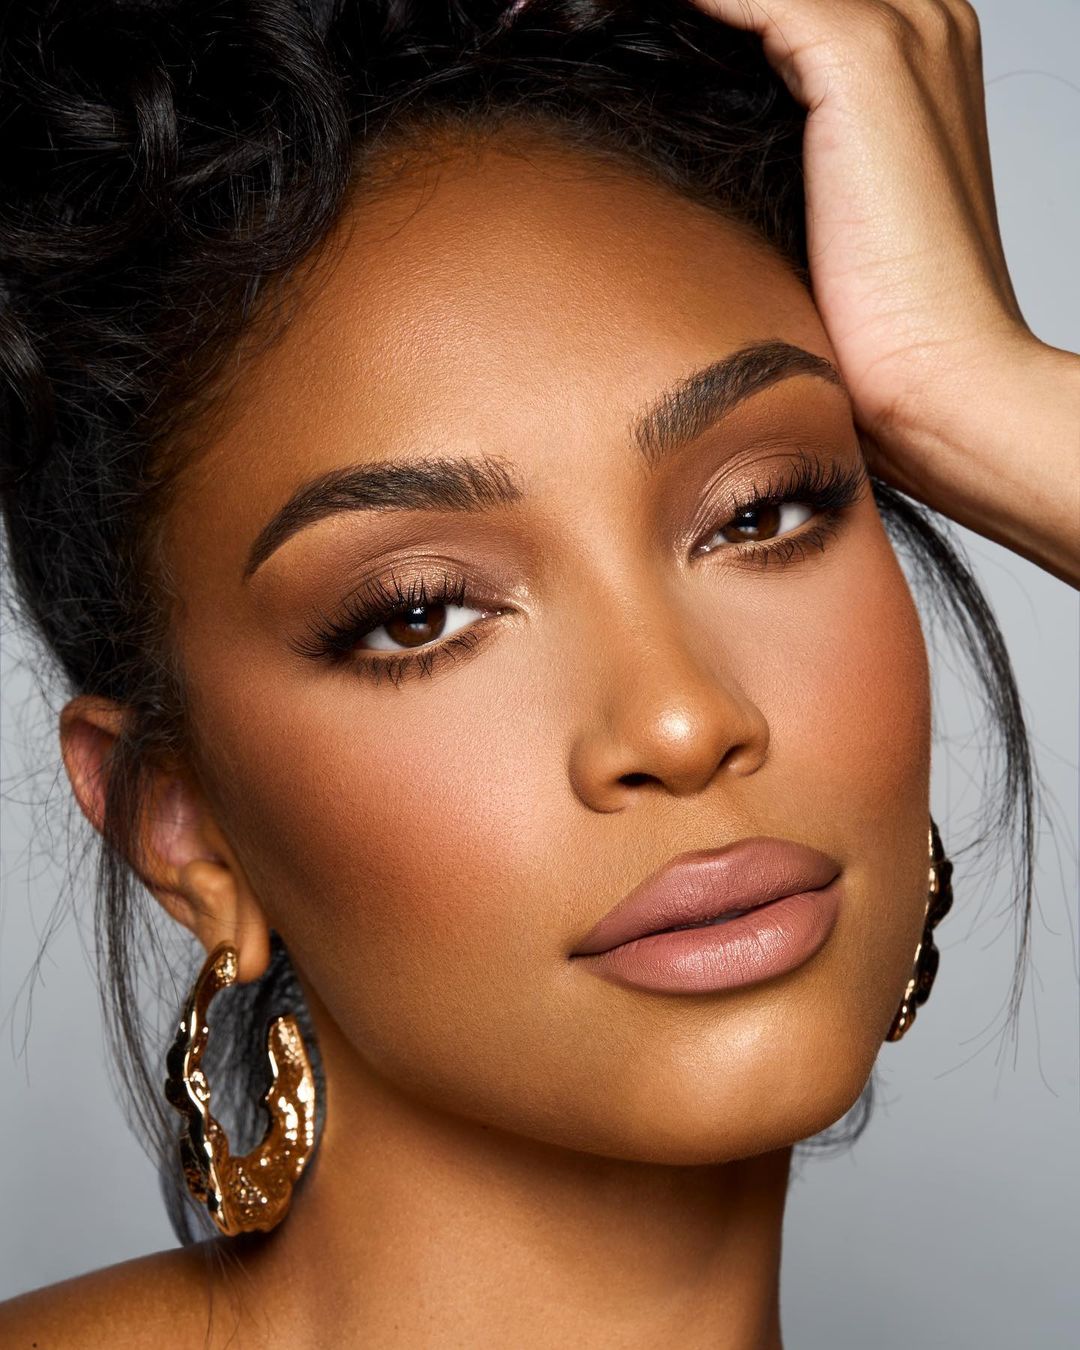
Cheek contouring tips usually narrow down to one diagonal line with the same technique for all face shapes. That’s part of why it can look flat, or drawn on, instead of really sculpted. Placement that lifts one face shape can flatten another. The product texture that blends effortlessly on one skin type can sit heavy on another.
In the long term, it’s more useful to know what to use, where to put it and why it works than it is to memorise one universal technique. Here is how you really do it.
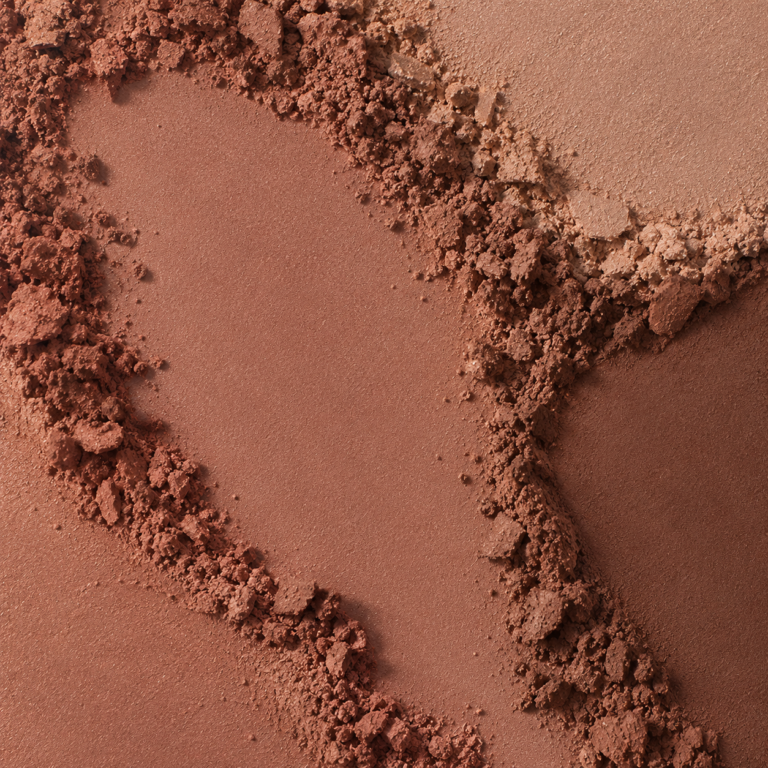
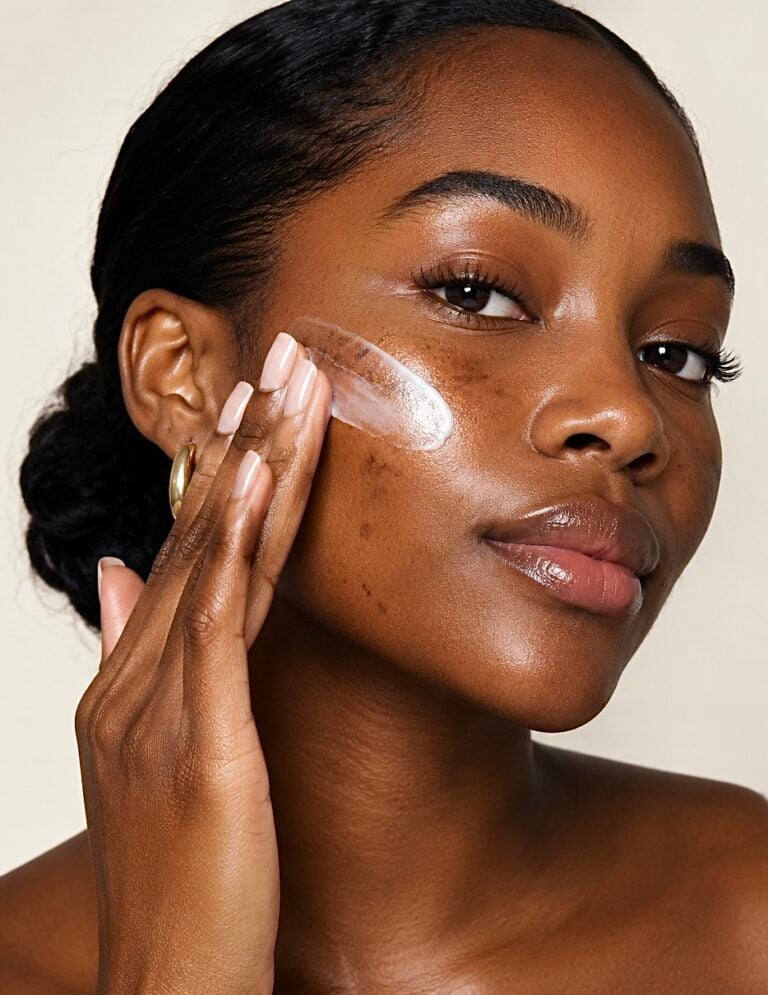
Cream and powder contour perform differently on your skin, and the right choice depends less on the effect you’re trying to achieve and more on your skin type. Cream formulas blend into skin with a little natural texture or dryness. They melt in, they don’t sit on top. Very oily skin they can grab unevenly as the day goes on. Powdered formulas are more controllable and easier to build up to. If you don’t pair it with the right prep underneath, they can look chalky or bring out texture on drier skin.
It also matters that your product finish matches the rest of your makeup look. A cream contour is right for a dewy, natural finish. Powder pairs more predictably with a fuller coverage matte base. The right texture is more about your skin than the shape of your face. Good to know before grabbing whatever’s trending instead of what works for you.
The basic principle behind contour that lifts rather than flattens is to follow the natural hollow beneath your cheekbone. No matter where that hollow actually sits, not putting product on a set diagonal line. Everyone’s got a different skeletal structure. A technique based on a universal line completely ignores that.
Going further back, near your ear, and sweeping up towards but not touching the corner of your mouth often gives a real lifting effect. It works with the natural upward angle of your cheekbone, not just cutting straight across your face. One of the most common mistakes is to start too close to your nose. It tends to flatten and shorten the face, not sculpt it.
Better to do a light first pass, built up slowly, not put on heavily in one hit. It reads more like natural shadow than product. This is more important with contour than with most other base products. One of the more immediately obvious makeup mistakes here is heavy-handed application.
Blend up and out, in the same way as the placement. This reinforces the lifting effect, rather than dragging it back down. Look at your work in natural light not just in the artificial bathroom lighting. Contour reads very differently in daylight and what looks seamlessly blended indoors can look heavier outside.
For rounder faces, contouring along the hollow of your cheek tends to add structure without fighting your natural shape. There’s a temptation to add contour along your jawline or forehead to fix roundness which often reads more obvious than simply defining the cheek hollow well.
The goal changes a little for longer faces. Instead of a steep diagonal, a more horizontal application of contour along the cheek adds a sense of width and balances out length instead of adding to it. The principle is identical in both cases. Follow your natural hallow, change the angle and the horizontal reach according to the shape of your face. One of the most common ways for contour to appear heavy-handed, no matter your face shape, is by using more product to compensate for face shape.
Setting your contour matters as much as how you apply it. Without setting, a cream contour can shift or blend away during the day, ruining your carefully placed contour. A little translucent powder over cream contour helps it stay in place through the day. Light setting mist works well over powder contour.
Put your highlighter on the high points your contour is lifting to: the tops of your cheekbones and your brow bone. Think of them as two steps that are to be mixed together where they meet rather than two separate steps. In this way the hard line between shadow and light is avoided.
Cheek contouring is best as a set of placement principles adapted to your face. No technique was used the same way no matter what shape.
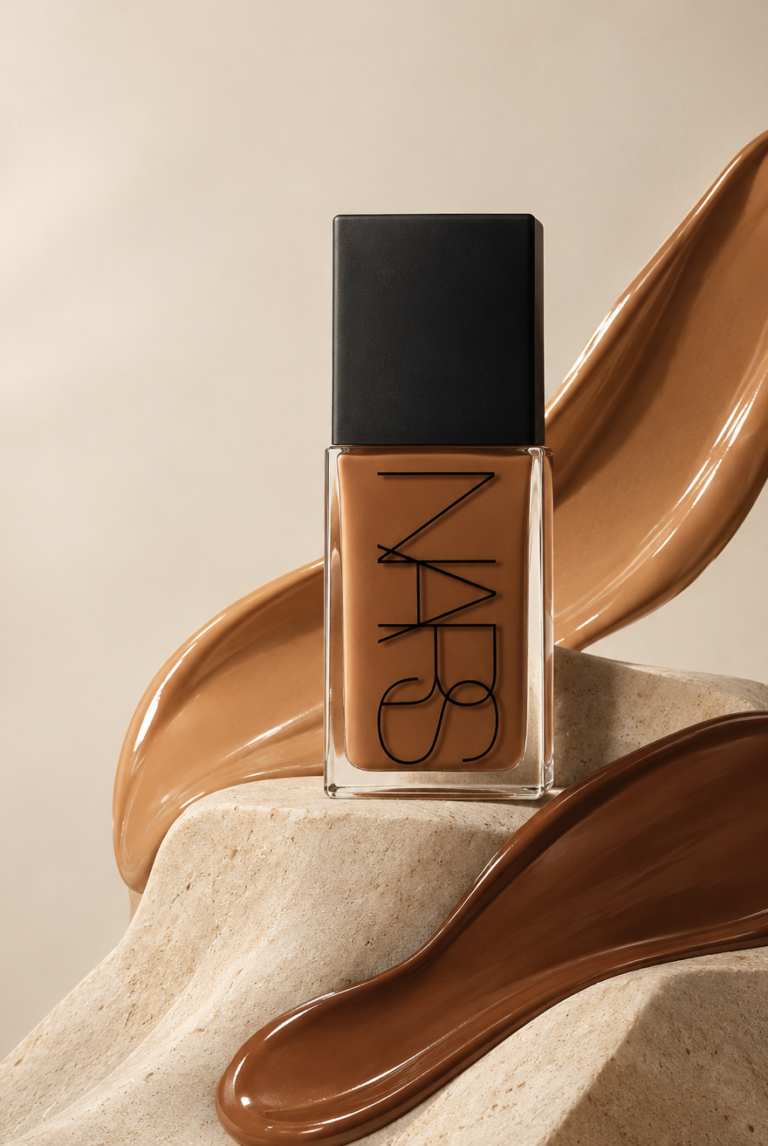
Texture is important for your skin type, trace your natural hollows rather than a fixed line, and build up slowly. The result reads like bone structure lifted, not product obviously applied. For the base of the foundation that provides your contour with the best surface to work on: [How to Apply Foundation for a Flawless, Skin-Like Finish].
Publishing industries for previewing layouts and visual mockups.